
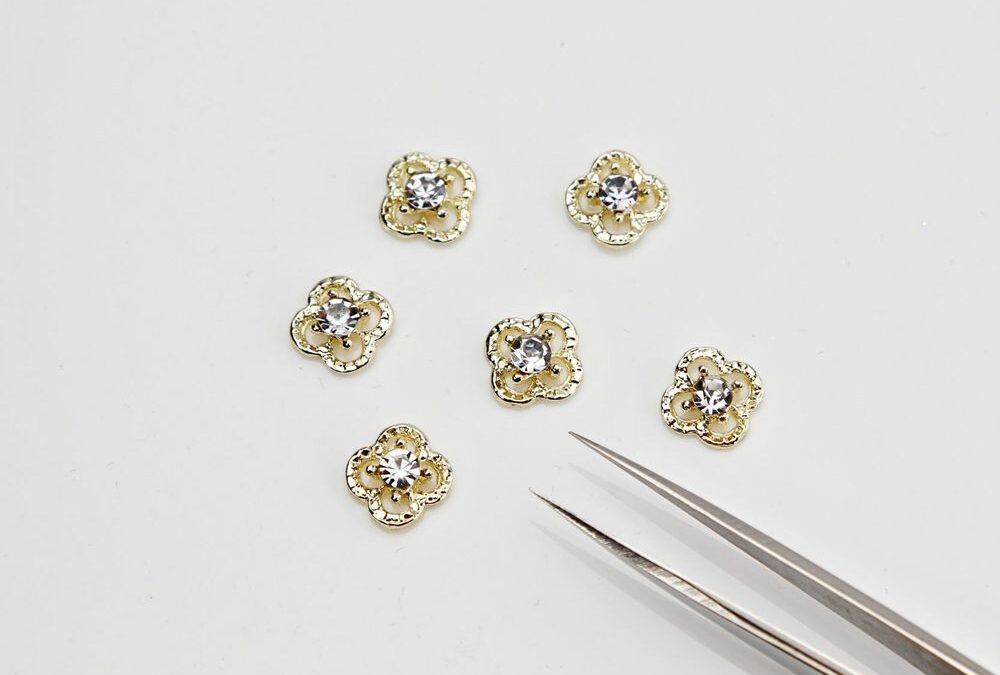
Myth busted: a single metallic charm can’t read bridal—less is often more. A restrained gold clover on a white gel base reads luxe, not flashy, when you control scale and placement.
See the 6 pcs Gold Rhinestone V4n Cl3ef Retro Four Leaf Clover with Outline set here: Gold Rhinestone Clover Charms for exact styling and scale.
Design: Meet the Set
This is the 6 pcs Gold Rhinestone V4n Cl3ef Retro Four Leaf Clover with Outline design—small, flat 3D clover charms in polished metallic gold with lacy textured edges and a clear faceted rhinestone center. They’re sized for single‑nail accents and come with stainless steel tweezers in the photo to show scale. Use them when you want a single, elegant focal point on a bridal or formal manicure.
Prep: Start With Clean White Gel
- File and shape: choose a soft square or almond for bridal elegance.
- Cuticle work: push back gently and remove loose skin—charms sit best on a smooth surface.
- Buff lightly: a tiny matte area where the charm will sit improves adhesion without dulling the overall shine.
- Base coat: apply a thin, fully cured base coat recommended for your gel system.
- White gel: apply two thin coats of an opaque white or off‑white gel, curing fully between coats for a clean, porcelain canvas.
Placement: Single Clover Options
Choose one of these layouts depending on formality and contrast:
- Classic ring finger single: place the gold clover at the nail center near the cuticle for a timeless bridal accent.
- Minimal side offset: position the charm slightly off‑center toward the thumb side for a fashion‑forward look that still reads dressy.
- Clustered vignette: use 2–3 small charms (if you have duplicates) grouped near the cuticle on a single accent nail for a denser sparkle—this photo set is sized for single accents, so plan spacing carefully.
- High-contrast statement: pick a glossy black or deep color accent nail with one gold clover for dramatic formal wear; keep others white for bridal cohesion.
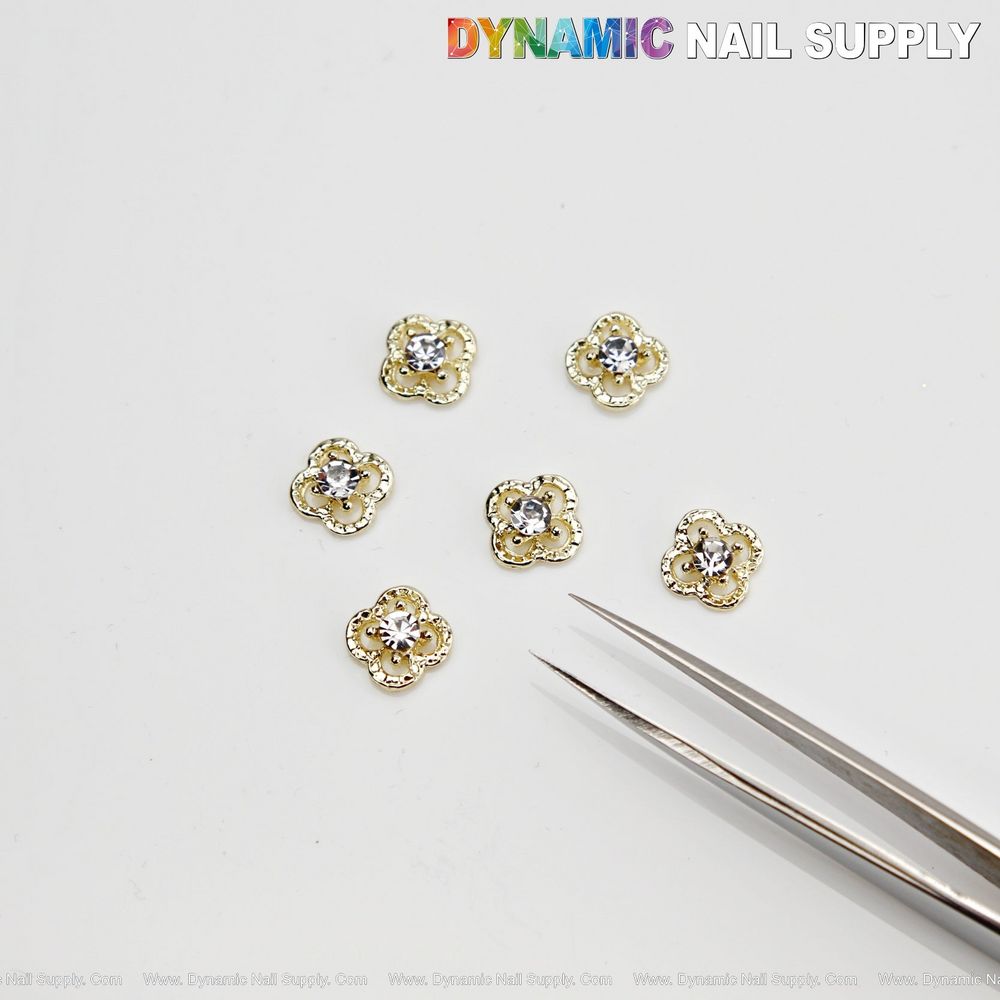
Polished gold clovers with clear faceted centers.
Application: Step‑By‑Step
- Thin layer tack: after curing your final white gel layer, leave a thin tacky layer or apply a small drop of gel adhesive on the spot where the charm will sit.
- Pick and place: use the shown stainless steel tweezers or a wax picker to lift the small gold clover—handle by the edges to avoid smudging the rhinestone.
- Seat and press: set the charm with a gentle, even press so the lacy gold outline sits flush against the gel surface.
- Secure cure: cure under the lamp long enough for the adhesive or gel to fully harden with the charm in place.
- Edge seal: apply a thin layer of builder gel or a strong gel topcoat around the charm edges (not over the rhinestone face unless product allows) and cure to lock the base in place.
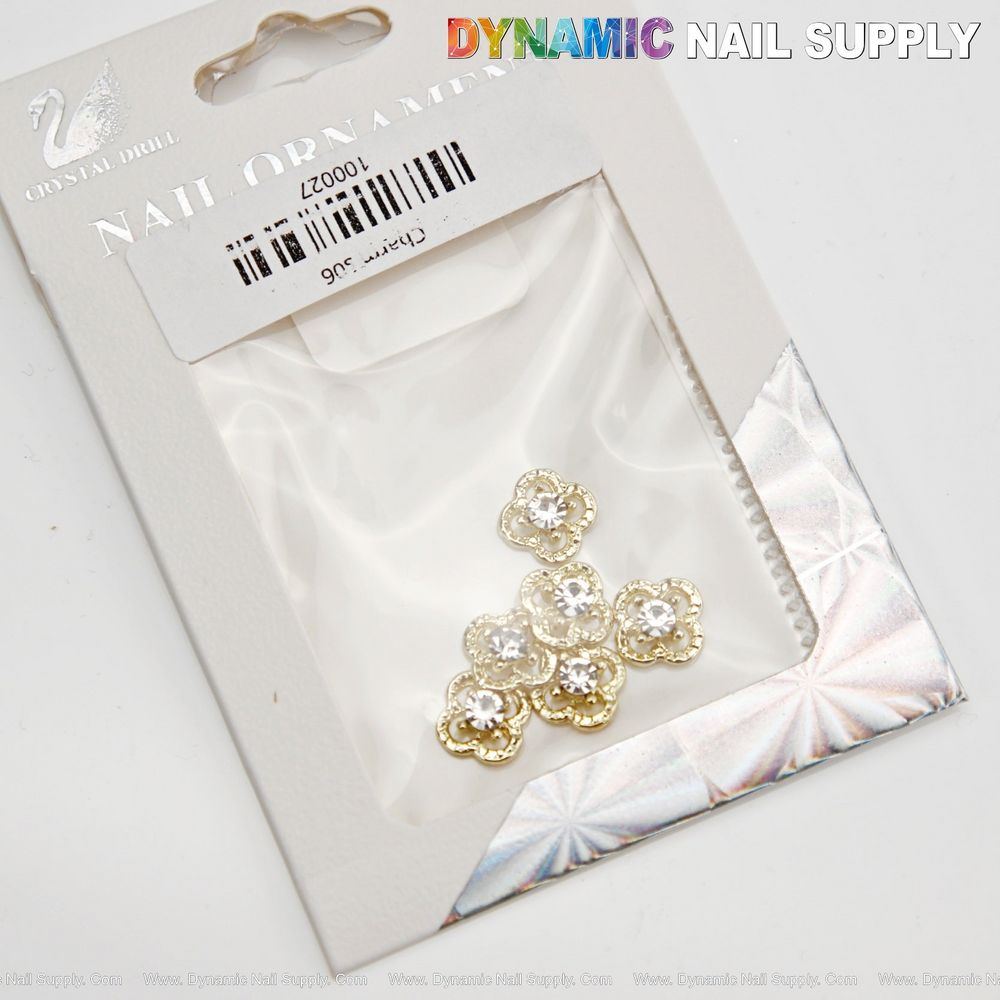
Small flat clover charms shown with tweezers for scale.
Topcoats: Keep the Sparkle, Prevent Lift
- Flexible gel topcoat: use a flexible, high‑gloss topcoat around the charm edges to prevent lifting with natural nail movement.
- Matte vs gloss: gloss keeps the gold and rhinestone reflective—matte will reduce sparkle and is not recommended if you want bright crystal centers.
- Edge finish: avoid thick coverage over the rhinestone itself; instead, seal the perimeter for a clean finish that still lets the faceted center shine.
Do’s and Don’ts
- Do size your charm to the nail—these small clovers are meant for one‑nail accents, especially ring fingers.
- Do press the charm level against the gel to prevent snagging on veils or fabrics.
- Do use a thin bead of builder gel at the edges to secure without hiding the rhinestone.
- Don’t overload with topcoat over the crystal—too much clear gel dulls the faceted sparkle.
- Don’t place the charm on a heavily textured or ridged nail surface; it needs a flat seat.
Quick Alternatives & Looks
- Soft pink French tips: place one clover above the smile line on each hand for romantic symmetry.
- Bridal cluster: white gel base with a small trio of clovers near the cuticle as a focal vignette (plan spacing first).
- Evening glam: black glossy base with a centered gold clover for contrast and nighttime sparkle.
Care & Safety Notes
- Handle charms with tweezers to avoid contaminating adhesive areas.
- Secure edges well to reduce the chance of catching on fabrics; avoid heavy force on the charm to prevent bending.
- If you have a latex or metal sensitivity, test contact areas first and avoid prolonged skin contact with metal edges.
Price note: this 6‑piece gold rhinestone set is listed at $5.99 but prices may change.
Takeaway: for a white gel bridal gold accent, let one small, well‑placed gold clover with a clear rhinestone center do the talking—clean base, careful placement, and sealed edges make it last.