
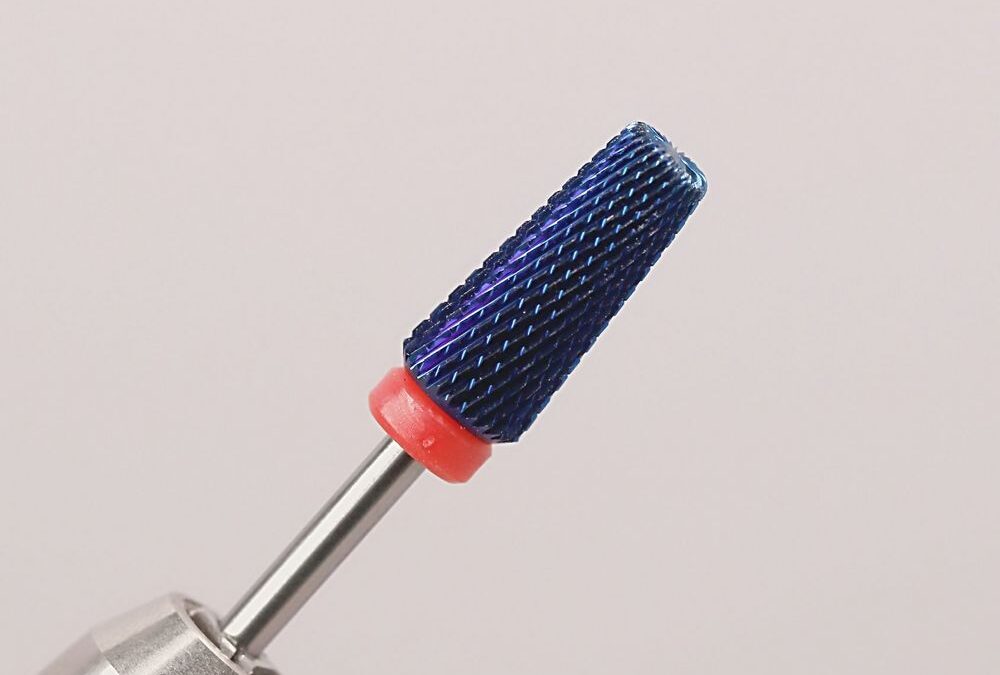
Myth busted: a finer bit means you should buff forever. In reality, the deep cobalt-blue 5-in-1 fine grit drill bit is built to move material efficiently while leaving a smooth surface—if you follow a workflow tailored to its cross-cut texture and short, precise strokes.
Tool ID: What This Blue Fine Bit Is
You’re holding the 5-in-1 Fine grit Drill Bit (Blue color). This style has a metallic anodized blue-purple iridescent finish, fine cross-cut ridges and a red-orange silicone collar on a silver mandrel. It’s a safety-style, fine-grit carbide bit that works both clockwise and counter-clockwise.
Prep: Start Clean
- Sanitize hands and client nails before you touch the bit.
- Remove shine and lift with a 180–240 file only where needed—avoid aggressive filing across whole overlay.
- Mount the bit securely on the mandrel; ensure the red-orange collar seats snugly against the handpiece chuck.
Orientation: How to Hold and Where to Start
- Hold the handpiece like a pencil for control; relax your wrist.
- Start at the smile line and work outward toward the free edge in small sections.
- Keep the bit nearly parallel to the nail surface when blending the apex; tip the bit slightly for cuticle sealing.
Speed: Dialing In RPM
- Begin at a low-to-medium speed. For most beginner setups, 8,000–12,000 RPM is a safe starting range.
- Lower torque drills respond better at the higher end; if you hear chatter, drop RPM immediately.
- Increase speed slightly only when removing thicker acrylic near the free edge; return to lower speed for feathering and finish work.
Pressure & Motion: Keep It Light
- Use light contact. The fine cross-cut ridges remove material gradually—pressing hard creates heat and burns polish or acrylic.
- Use short, controlled passes: 1–2 seconds per pass over a small area, then lift to inspect.
- Move the bit in the stroke order below; avoid rubbing the same spot continuously.
Stroke Order: The Beginner Sequence
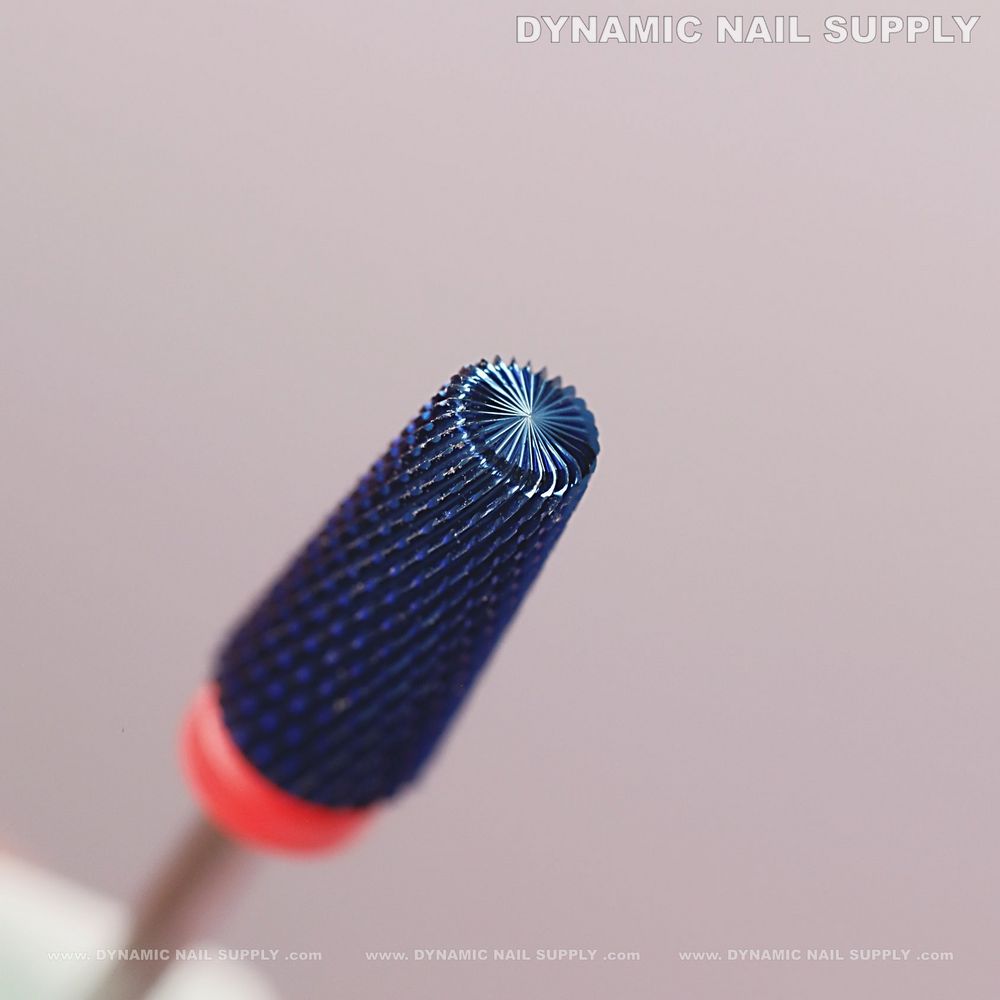
Deep cobalt-blue 5-in-1 fine grit bit on pale blush background.
- Free Edge: Remove bulk on the underside and tip with sweeping side-to-side strokes.
- Sidewalls and Apex: Feather from the apex toward the sidewall, maintaining a gentle arc.
- Cuticle Area: Hold the bit at a shallow angle and glide—this safety-style bit is made not to cut, but stay cautious.
- Finish Pass: Light, long passes from cuticle to free edge to blend and smooth the surface.
When To Switch From File To Bit
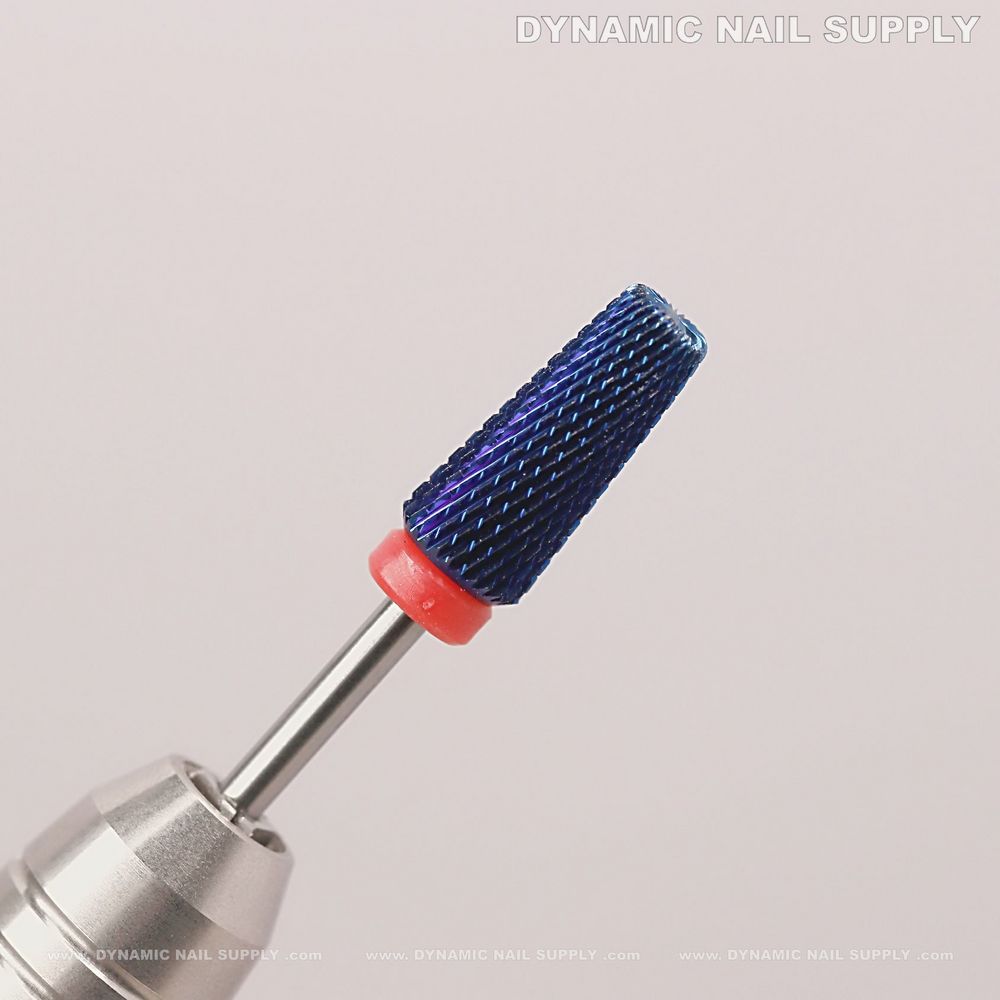
Close-up shows iridescent finish and fine cross-cut texture.
- Use a file first for large shape changes or shortening the free edge. Reserve the blue fine bit for final blending and smoothing.
- If uneven high spots remain after your file pass, switch to the bit at low speed and remove material in micro-passes.
- If you need aggressive reduction, choose a coarser carbide or file—this fine bit is for finishing, not heavy removal.
Signs You’re Doing It Right
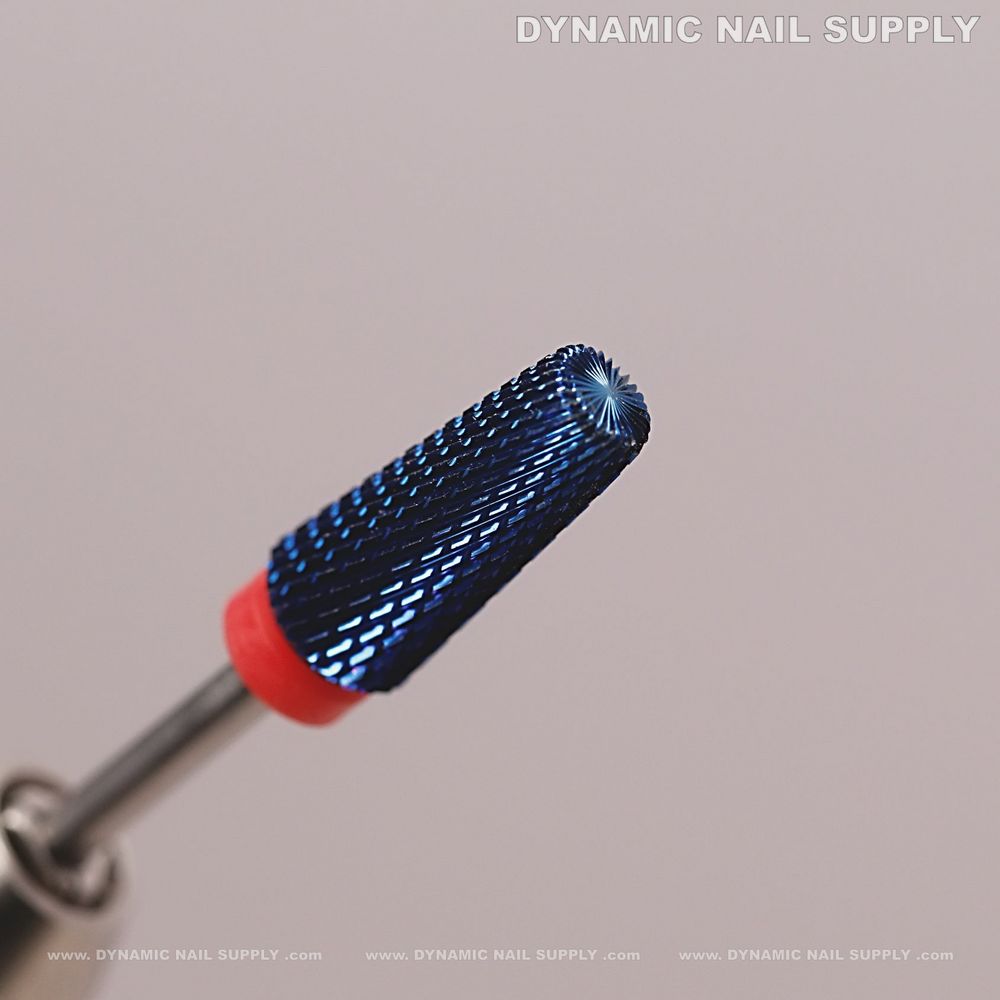
Mounted on a silver mandrel with red-orange silicone collar.
- Surface feels consistently smooth to the touch after a few light passes.
- No burning smell and client reports no heat; if heat appears, reduce pressure or speed.
- The iridescent finish on the bit stays intact with correct cleaning and avoids crashing into metal work surfaces.
Do’s and Don’ts
- Do inspect the fine cross-cut flutes before use for debris.
- Do use short strokes and lift frequently to check progress.
- Do run the bit both directions if you’re left- or right-handed—this bit is reversible.
- Don’t apply heavy downward pressure; that causes chatter and heat.
- Don’t use this fine bit as your first step for heavy acrylic removal.
- Don’t soak the rubber collar of the mandrel in harsh solvents—wipe clean instead.
Cleaning & Care: Keep the Finish
- After each client, remove debris with a stiff brush while the bit is dry.
- Wipe the bit with isopropyl alcohol and allow to air dry; avoid ultrasonic cycles that might affect the anodized sheen.
- Store bits in a dry case to protect the iridescent blue-purple surface and the red-orange collar from knocks.
Safety Notes
- Wear a mask and use dust extraction—fine grit creates breathable dust.
- Keep fingers relaxed; avoid trapping skin between bit and nail bed.
- Replace the bit if flutes show burrs or significant wear.
Quick Workflow Cheat Sheet
- Step 1: File bulk down (180–240) where needed.
- Step 2: Mount the blue fine bit and set speed 8k–12k RPM.
- Step 3: Free-edge reduction in short side-to-side passes.
- Step 4: Apex blending with light, arcing strokes.
- Step 5: Cuticle sealing with a shallow angle and single-pass glides.
- Step 6: Final sweep from cuticle to free edge for uniform sheen.
Price note: the 5-in-1 Fine blue bit is listed at $10.89 and prices may change.
Use the deep cobalt-blue 5-in-1 fine-grit tool when you want a fast, even finish without aggressive stock removal; you’ll protect the overlay and get salon-ready smoothness every time.
Takeaway: small, light passes with this blue fine bit beat endless buffing.
For finishing and blending during your last passes, reach for the blue 5-in-1 fine bit to get a smooth, salon-ready overlay.