
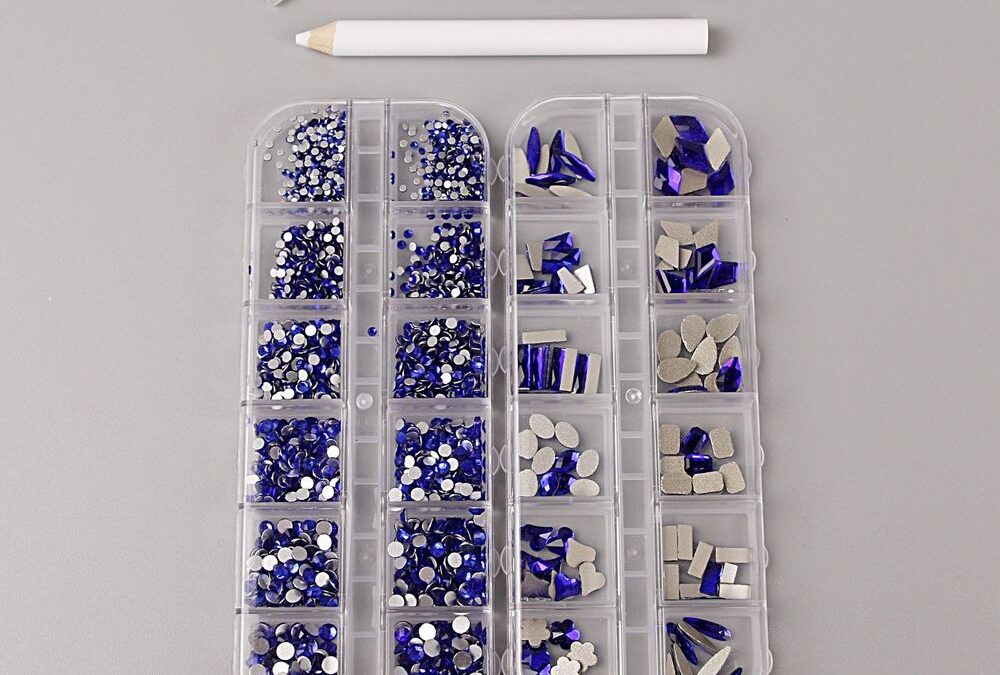
Myth bust: bigger sparkle needs more glue — not always. The deep cobalt blue pieces in this mixed-shape set bond best when you match glue volume to each flat-back size and shape, not when you flood the nail.
Quick facts: What you’re working with
- Design: deep cobalt blue faceted gems with silver mirror flat-backs in mixed rounds and specialty shapes.
- Range: tiny to medium round sizes plus elongated navette, teardrop, rectangle and diamond shapes.
- Tools shown: precision tweezers and a wax picker; storage boxes separate sizes for measured application.
- Adhesives: use nail rhinestone glue, builder or gem gel — rhinestones are not self-adhesive.
Prep: Clean, dry, and plan placement
- Remove residue and oils from the nail surface. You want a clean, matte base for predictable spread.
- Arrange gems by size in the storage compartments so you can grab the right stone without guessing glue volume mid-application.
- Decide whether you will glue directly or use a gel anchor (builder/gem gel) for clustered or high-traffic nails.
Metering: How much glue for each flat-back size
Use this tactical reference while working on a neutral or acrylic base (the silver backs on these cobalt-blue gems benefit from even pressure during set):
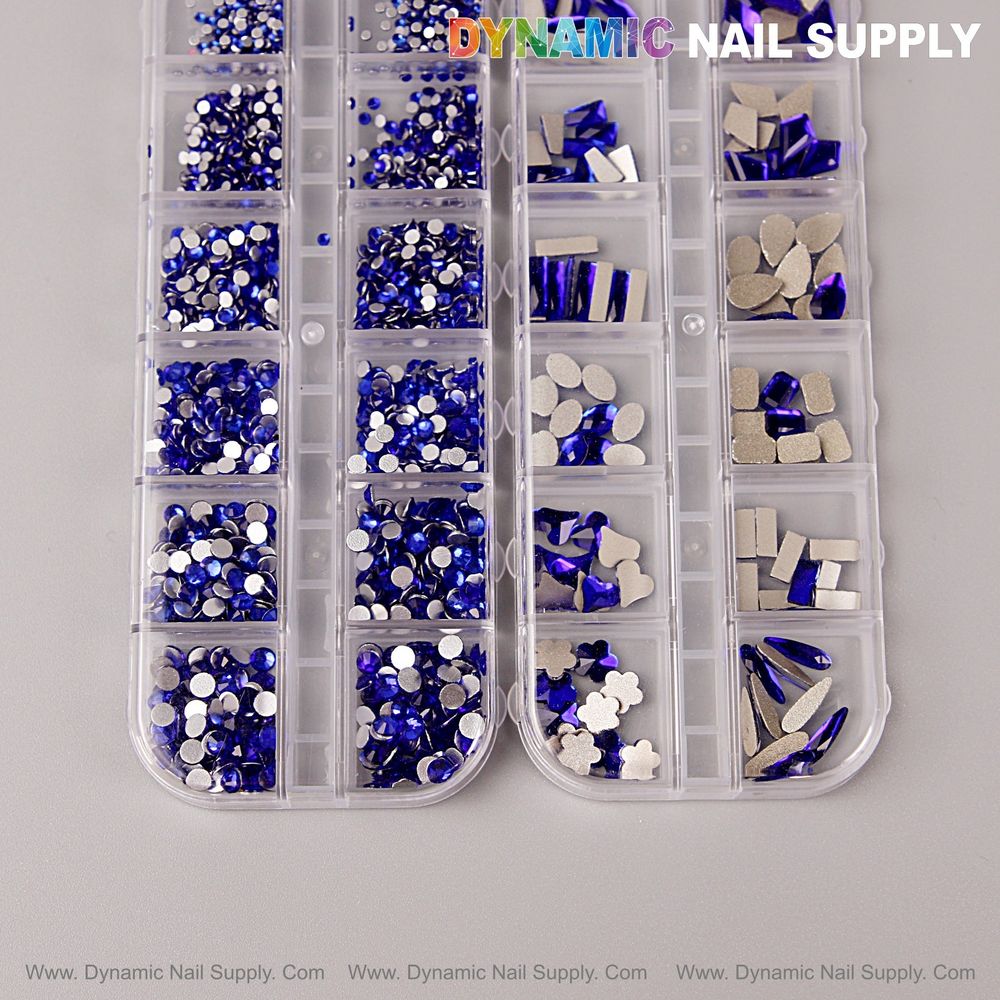
Blue mixed-shape rhinestones organized by size.
- Micro rounds (very small): a pinhead drop of glue. Aim for coverage that wets the back but does not overflow the edge — you want contact only at the mirror-flat area.
- Small rounds (most scattered accents): a rice-grain sized dot. Enough to hold, not to create a visible mound around the gem.
- Medium rounds: a pea-to-half-pea sized bead squeezed thin. Place, press, then remove excess before it spreads under the gem visibly.
- Elongated shapes (navette, teardrop, rectangle, diamond): a line or short bead that follows the longest axis of the stone. For teardrops and navettes, place a narrow bead under the centre spine so pressure distributes evenly across the silver flat-back.
- Clusters or multi-stone anchors: use a slightly larger bead under the biggest stone and smaller dots for surrounding pieces. If you plan to encapsulate with builder gel later, you can use slightly less adhesive and rely on encapsulation for final hold.
Application: steps for precise control
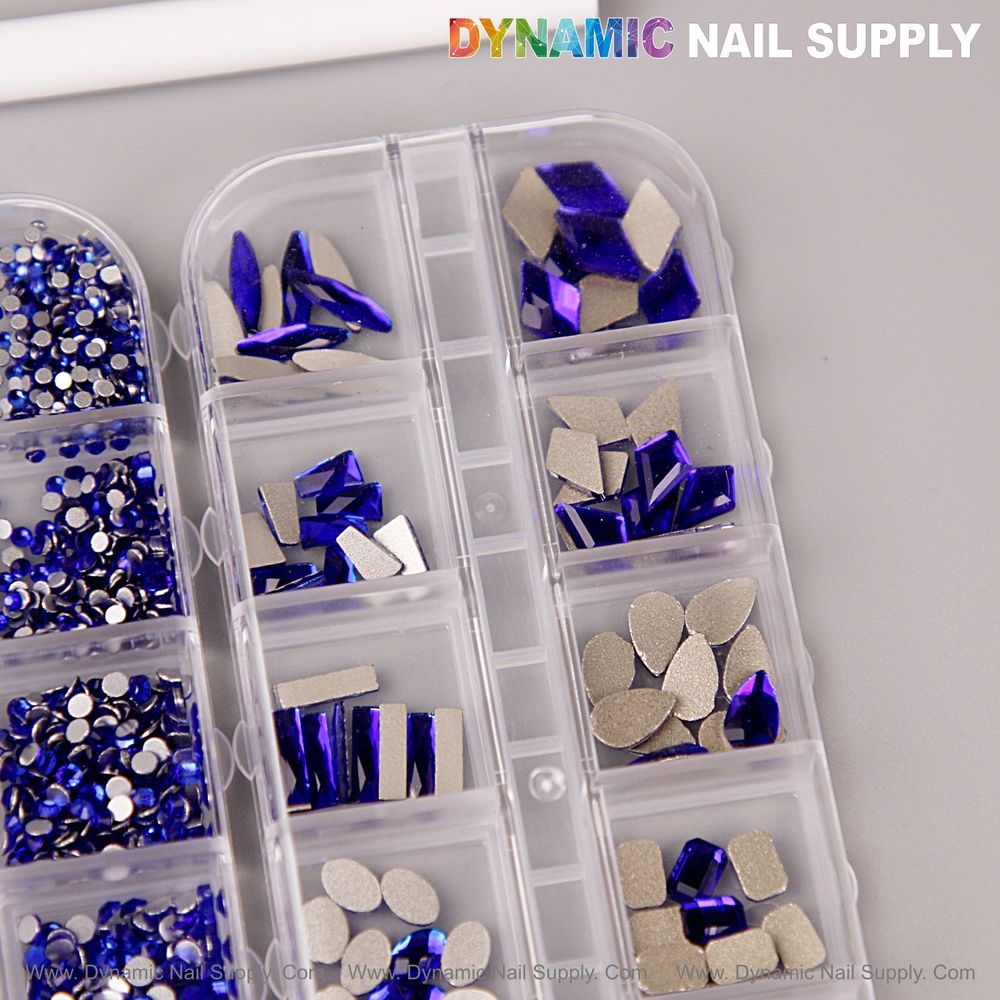
Tools shown: wax pick and precision tweezers.
- Dip your wax pick lightly, select the gem, then place it on the wet glue bead — don’t touch the glue with tweezers after placement to avoid dragging.
- Press once with the tip of your wax tool or the flat of the tweezers for one to two seconds to seat the gem on the adhesive bead.
- Wipe excess glue immediately with a slanted orange stick or a clean lint-free brush before it skins over.
- For gel products, cure only after you’ve checked alignment; gel offers working time to nudge teardrops and navettes into perfect orientation.
Use Blue mixed-shape rhinestones as your reference set when practicing these volumes so you learn how the mirror backs interact with different adhesives and pressures.
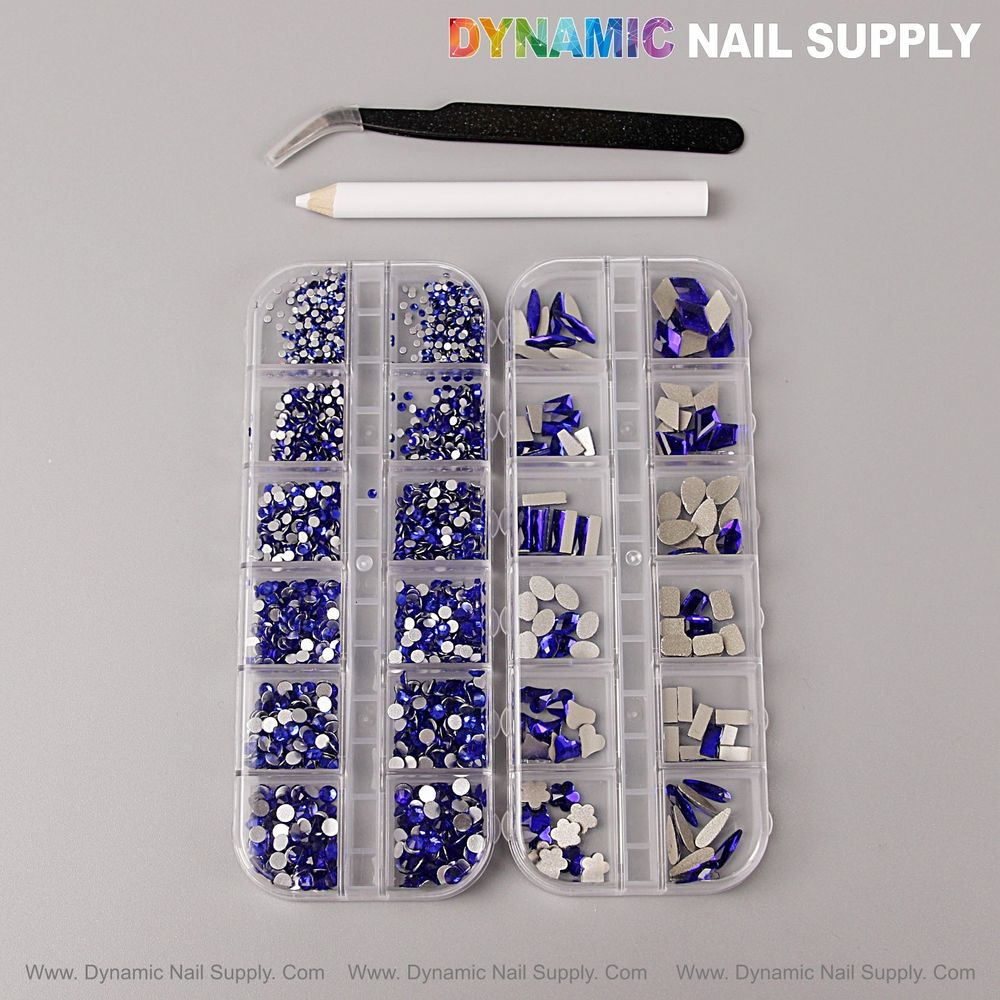
Silver-backed cobalt gems ready for placement.
Do’s and don’ts: minimize cleanup, maximize wear
- Do measure by visual bead size rather than time — adhesive viscosity varies by brand and temp.
- Do keep a damp microfiber nearby for tool wipes; it prevents gumming and unintended drag on facets.
- Do use gel for high-traffic tips or clustered, layered designs; builder/gem gel pairs well with larger cobalt-blue teardrops.
- Don’t flood the nail with glue “just in case” — excess glue lifts facets, dulls sparkle, and creates cleanup work along the skin line.
- Don’t skip pressure when seating larger shapes; the silver flat-back must contact the adhesive area fully to avoid pivoting later.
Troubleshooting: quick answers
- Gem lifts day 1: Likely under-glued or set on an oily surface. Reclean and add the recommended bead size.
- Glue visible around edges: You used too much or wrong viscosity; remove excess with a tool and a tiny bit of acetone if set.
- Facets dull after placement: Avoid touching the top with tools. Use light pressure on the mirror back only.
- Uneven cluster height: Re-seat larger anchor stones first, then level surrounding rounds with smaller beads.
Safety & handling
- Keep small parts away from young children; these pieces are a choking hazard.
- Use adhesives in a ventilated area and follow the glue manufacturer’s safety instructions.
- Store unused gems in their divided boxes to prevent scratches to the faceted surfaces and to keep silver backs clean.
Price note: this Blue mixed-shape kit is listed at $9.99; prices may change.
Takeaway: match glue bead size to the gem’s flat-back area — small bead for small rounds, spine bead for elongated shapes — and you’ll secure those cobalt-blue accents with minimal mess.