
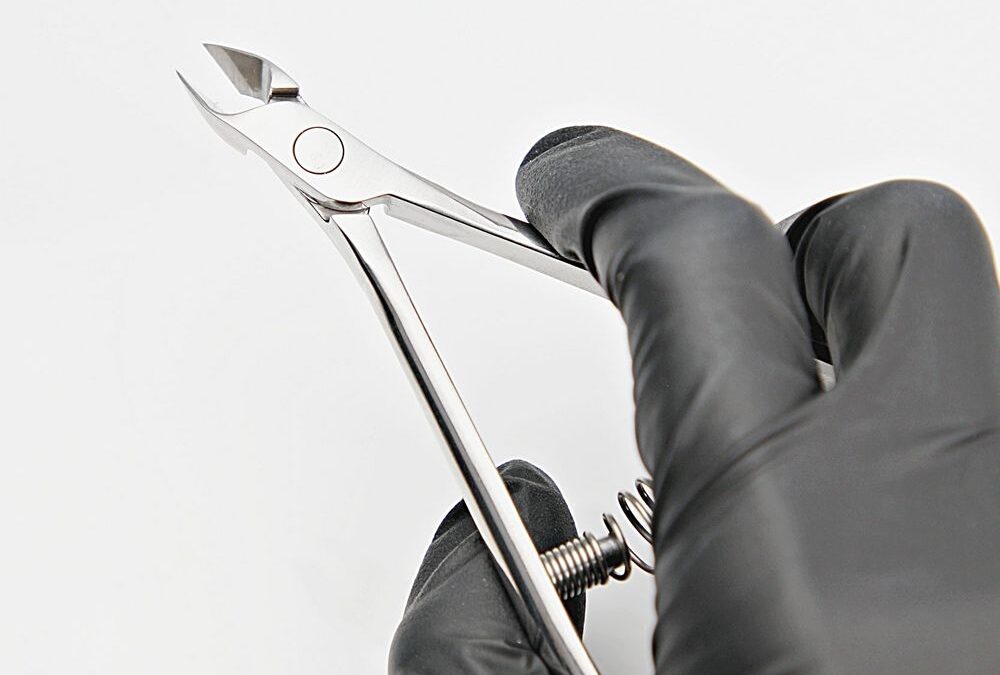
Myth busted: wiping a metal nipper with alcohol is not a full sterilization step. You need a clear, repeatable protocol to protect clients and keep the mirror-like finish on polished-silver tools such as the NE-91-7 STALEKS Expert 91.
Intro: Know Your Tool
The NE-91-7 Expert 91 7 mm full-jaw cuticle nippers are long-handled, polished stainless-steel tools with a narrow working tip and removable coil spring. They have a high-gloss finish and finely hand-sharpened edges. That construction wants careful handling: improper cleaning, drying or autoclaving can dull edges, pit the surface or trap moisture at the joint.
Prep: Start Clean
- Remove gross debris immediately after use. Rinse under warm running water to loosen tissue and product.
- Use a soft brush with a neutral pH enzymatic or surgical detergent to clean the cutting edges and hinge area. Work the brush along the jaw and into the narrow tip.
- Do not scrub with steel wool or abrasive pads; they will harm the glossy surface and etch the finish.
Disassemble: Use the Removable Spring
Take out the removable coil spring before any immersion or heat process. Removing the spring gives better access to the joint and prevents trapped moisture. Keep the spring and handle set together so alignment is preserved when you reassemble.
Wash: Proper Immersion
- Immersion method: submerge the nippers in the recommended cleaning solution per the detergent label. Keep the tool fully open so the solution reaches the joint and cutting faces.
- Time matters: follow the detergent manufacturer’s soak time. Rinse thoroughly with warm, running water afterwards to remove residue.
- Inspect under light for remaining debris at the tip or between blades; repeat cleaning if needed.
Dry: Prevent Corrosion
- Pat dry with a soft, lint-free towel immediately after rinsing. Avoid air-drying in humid rooms.
- Use a low-heat dry cabinet or a clean compressed-air bulb to blow out moisture from the hinge and narrow tip. Do not use high-pressure air that can force water further into the joint.
- Leave tools open slightly while drying to allow full evaporation at the cutting edges.
Inspect: Look for Wear and Contamination
- Check the cutting edges for chips, nicks or separation. The NE-91-7 is hand-sharpened; even small dents affect closure.
- Examine the hinge and spring for corrosion or grit. The polished finish makes flaws visible—use that to your advantage.
- If you find damage, remove the tool from service and follow maintenance or repair steps below.
Disinfect vs Sterilize: Your Clinic Decision
Disinfection reduces microbes; sterilization eliminates them. For routine manicure services, high-level disinfection may meet local regulations. For instruments that puncture or cut skin, follow your clinic policies and applicable standards—autoclaving is the recognized sterilization method for stainless-steel tools like these nippers.
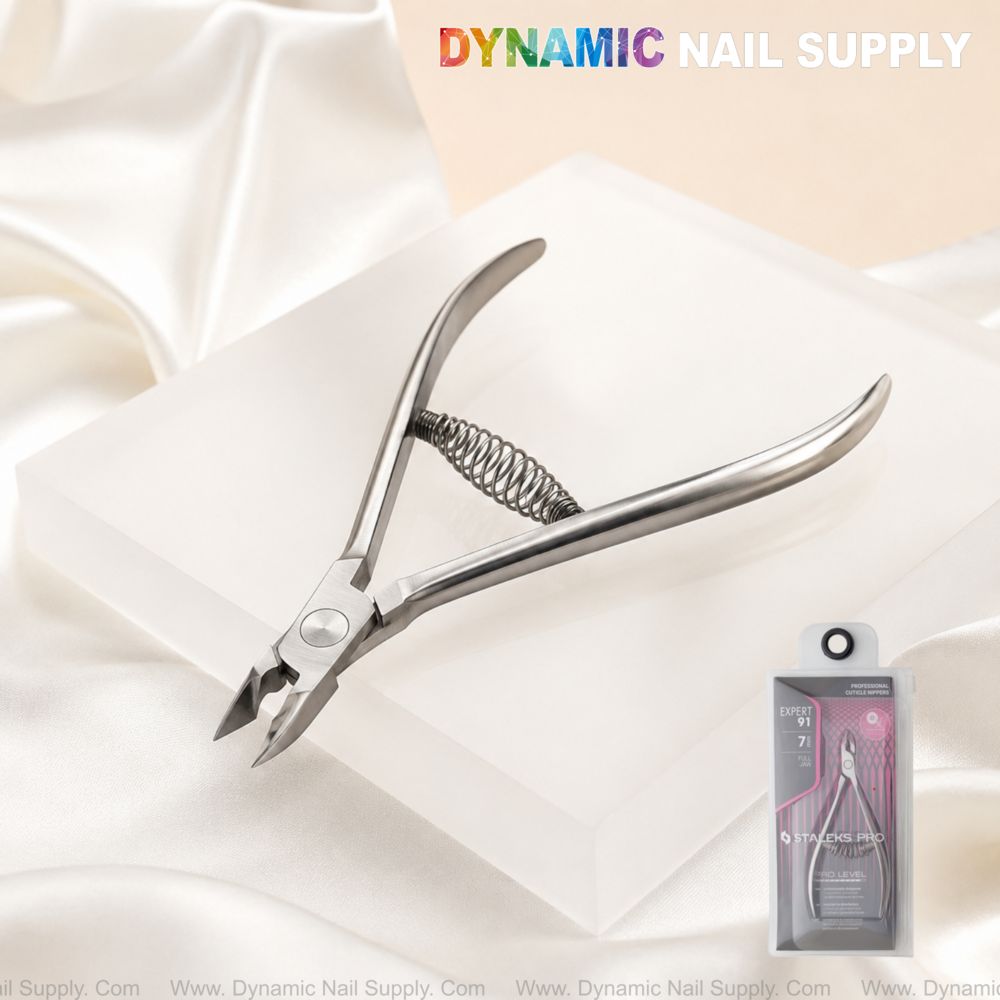
NE-91-7 shown with glossy stainless finish and narrow tip.
Autoclave: How to Sterilize Stainless Steel Nippers
- Reassemble the nipper only if the manufacturer allows autoclaving with the spring in place. If unsure, autoclave with the spring removed and stowed separately.
- Place instruments open and arranged so steam reaches all surfaces; avoid nesting tools together.
- Use wrapped or cassette-loading per your autoclave protocol. Select a cycle appropriate for stainless-steel surgical instruments (follow the autoclave manual).
- Allow drying time and cool-down before handling. Hot autoclaved metal can accumulate condensation when exposed to cooler air—ensure complete drying.
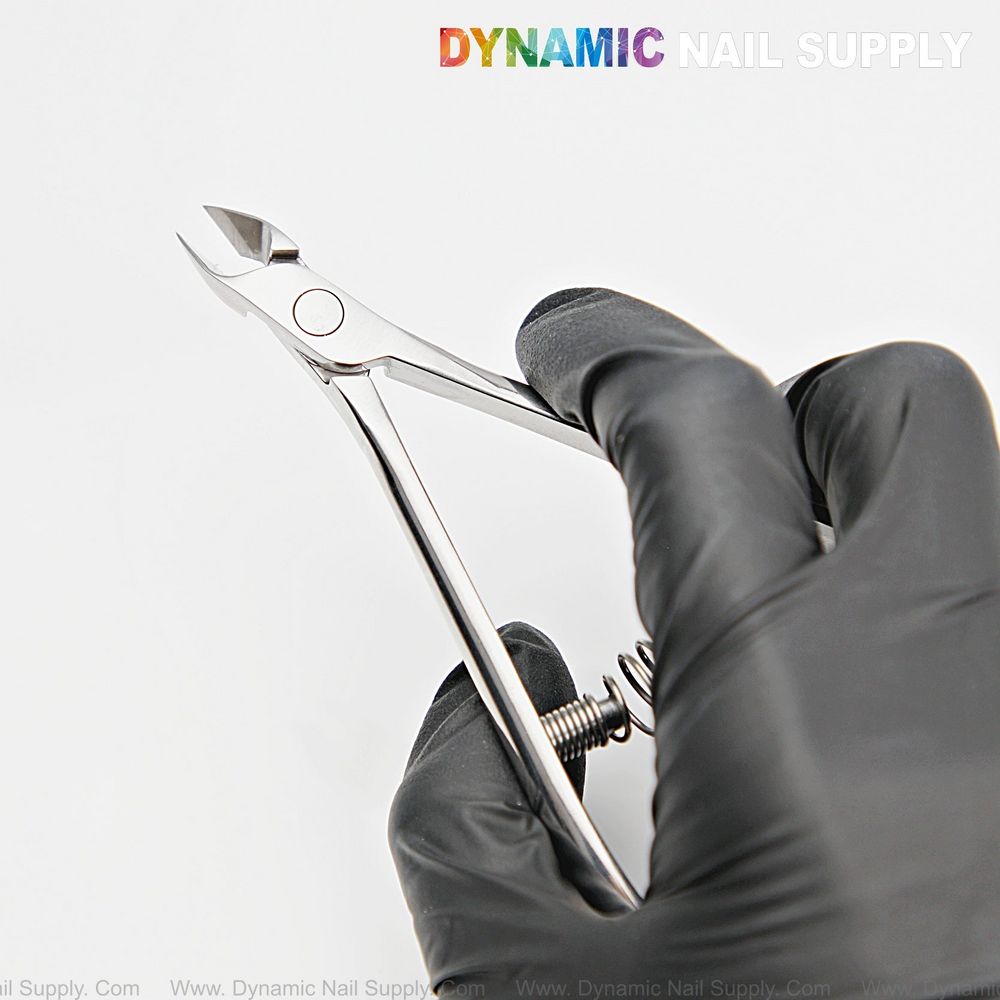
Close-up highlights the curved handles and spring mechanism.
Post-Autoclave Care: Preserve the Finish
- Remove tools using clean gloves or sterile forceps to avoid fingerprints or oils on the polished surface.
- Inspect edges again. If the cutting faces show a change in bite or feel, schedule professional resharpening.
- Lightly oil the hinge with a few drops of an instrument-grade lubricant where the joint meets—wipe off excess to keep the glossy finish clean.
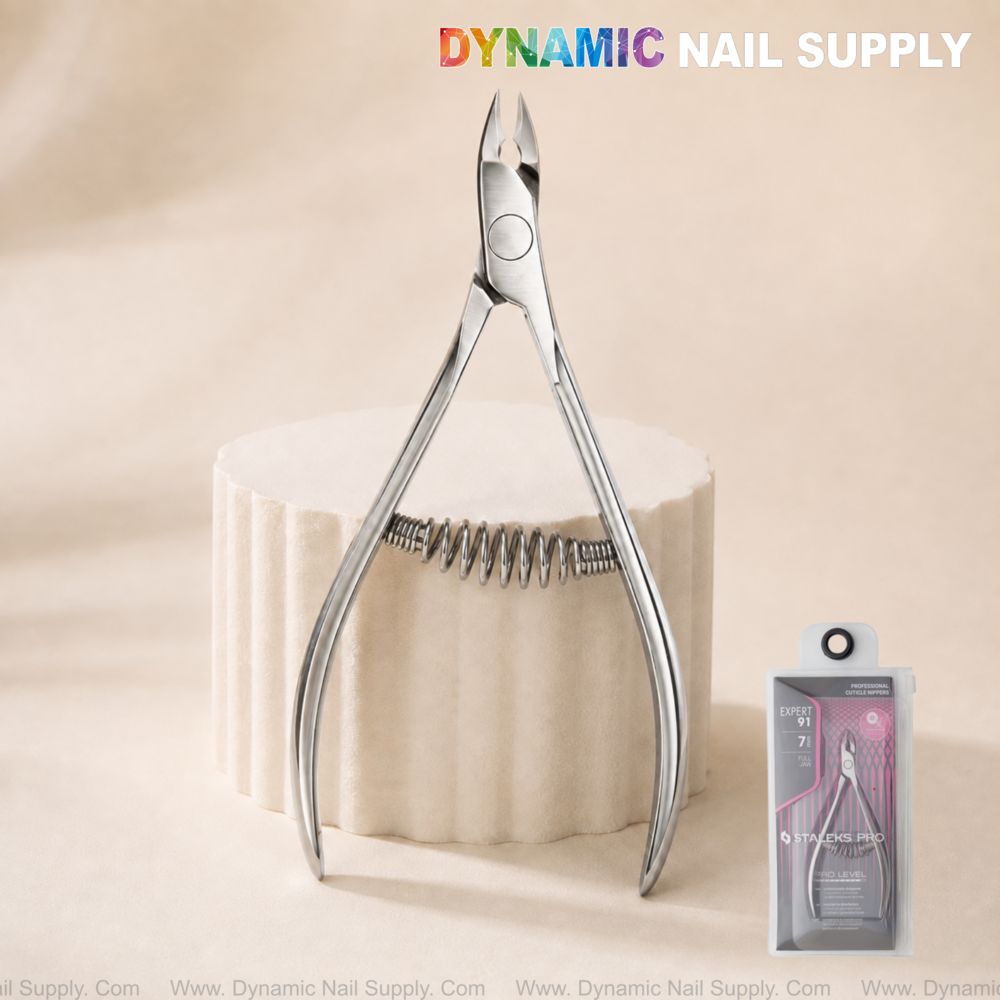
Packaged NE-91-7 in pale-pink insert and clear plastic.
Honing & Sharpening: Keep the Cut Clean
The NE-91-7 features multi-stage hand sharpening at the factory. For routine maintenance:
- Use a fine diamond or ceramic sharpening rod designed for nippers; follow manufacturer techniques to maintain the angle and heel protrusion.
- Only experienced technicians should attempt edge work. Otherwise, rely on a professional service to avoid removing too much metal.
Storage: Long-Term Protection
- Store dry, in a padded tray or a lined case to protect the reflective surface from knocks and scratches.
- Keep tools separated to avoid blade-to-blade contact that dulls edges.
Quick Do’s and Don’ts
- Do remove the coil spring before soaking.
- Do use neutral enzymatic cleaners, then autoclave when required.
- Do dry fully and oil the hinge sparingly after sterilization.
- Don’t use bleach or abrasive cleaners on a polished finish.
- Don’t skip inspection—small chips become big problems for precision tools.
Safety Notes: Handle With Care
- Wear puncture-resistant gloves when cleaning and handling sharp edges.
- Treat used nippers as contaminated until fully cleaned and sterilized.
- Follow local clinic regulations for instrument reprocessing and record-keeping.
Product Fit: Why This Item Matters
The NE-91-7’s narrow tip and 7 mm full jaw make it ideal for tight nail folds—but that precise edge also demands disciplined cleaning and sterilization to keep performance and the polished chrome-like finish. The long handle design and removable spring make this model straightforward to service in a professional workflow.
Final Steps: Routine Checklist
- Rinse → Clean with soft brush → Remove spring → Rinse again.
- Dry thoroughly → Inspect → Autoclave (when required).
- Cool → Lubricate hinge lightly → Store protected.
For a reliable, clinic-ready 7 mm full-jaw option and current price details (prices may change), consider the NE-91-7 Expert 91 for your sterilized tool set. https://dynamicnailsupply.com/products/ne-91-7-staleks-professional-cuticle-nippers-expert-91-7-mm
Takeaway: Sterilize stainless steel nippers with a stepwise wash, dry, inspect and autoclave routine to protect clients and the tool’s mirror finish.