
Small, themed nail charms can turn a simple manicure into a statement look — especially around Valentine’s Day. If you’ve spotted tiny lipstick-shaped decorations with built-in red bows and wondered how to use them without fuss, this guide breaks the process down for first-timers.
These accessories are sold in compact packs designed for seasonal nail art, and they work well on full sets or as single-accent nails. For a direct product match, see the lipstick nail charms to check pack details and quantity before you start.
What are valentine lipstick nail charms?
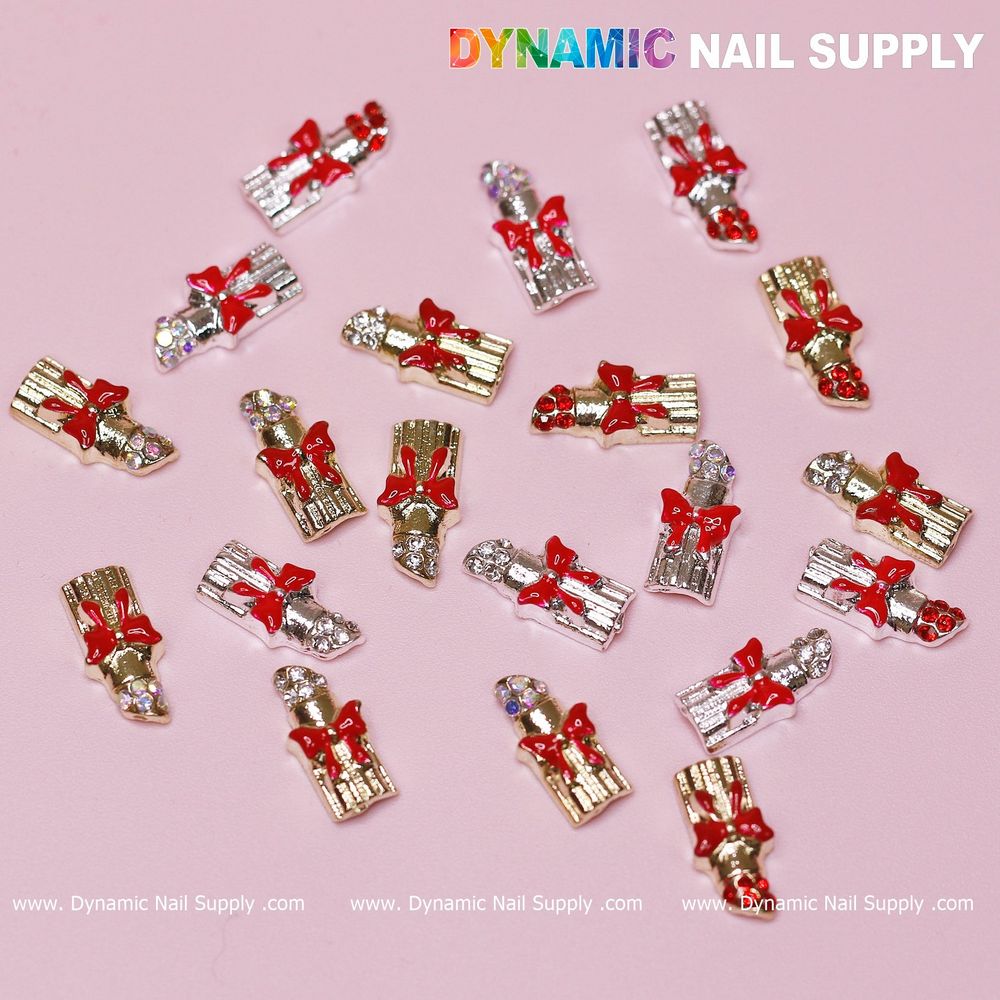
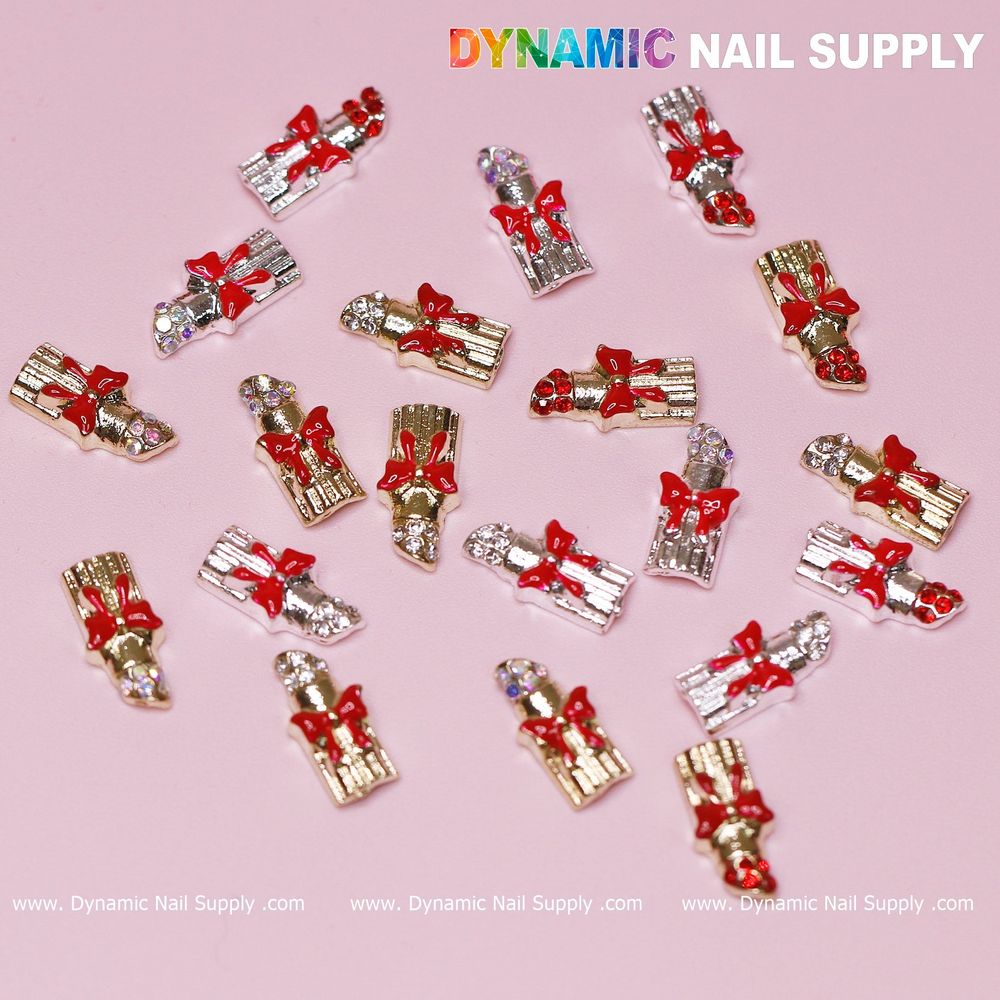
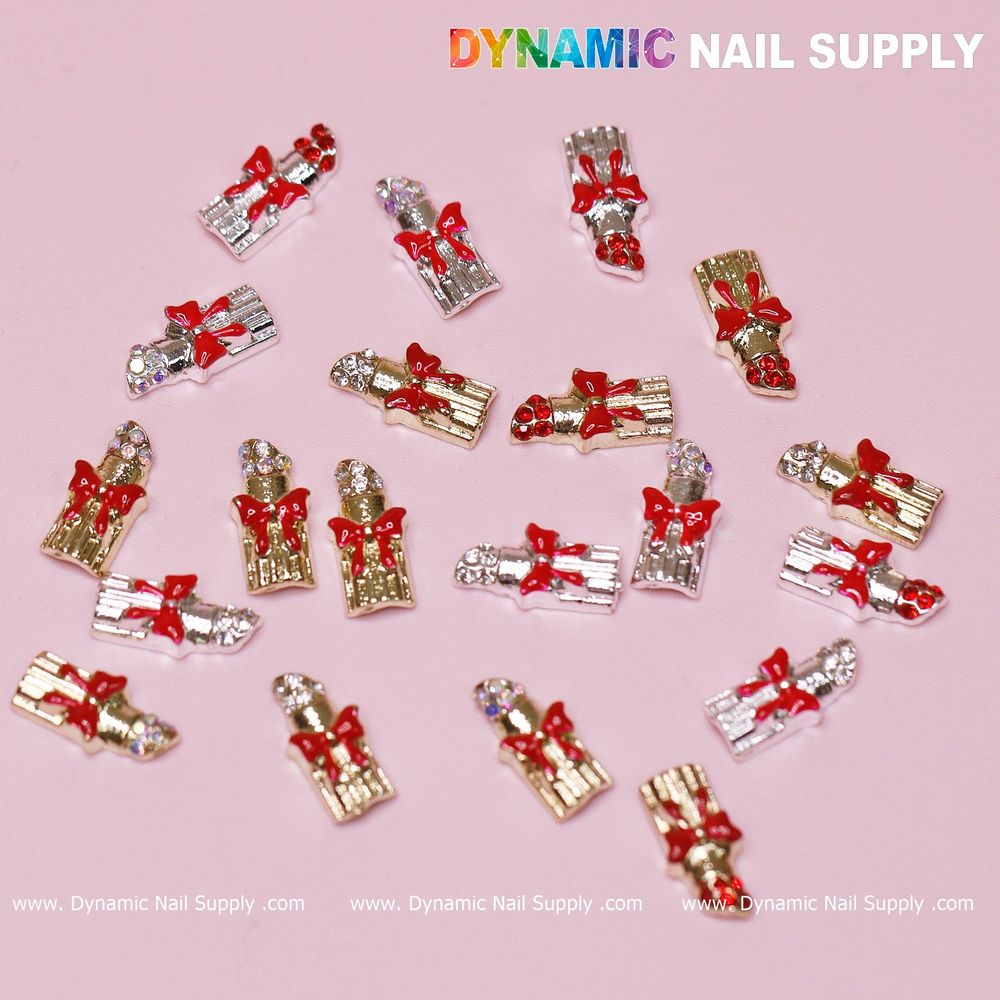
At their core, these pieces are decorative nail charms shaped like mini lipsticks with attached red bows. Each set contains twenty individual pieces intended to be applied to natural nails, acrylics, or other nail extensions as accents. They’re part of seasonal nail decoration lines often labeled for Valentine’s or romantic-themed designs.
Key features explained for beginners
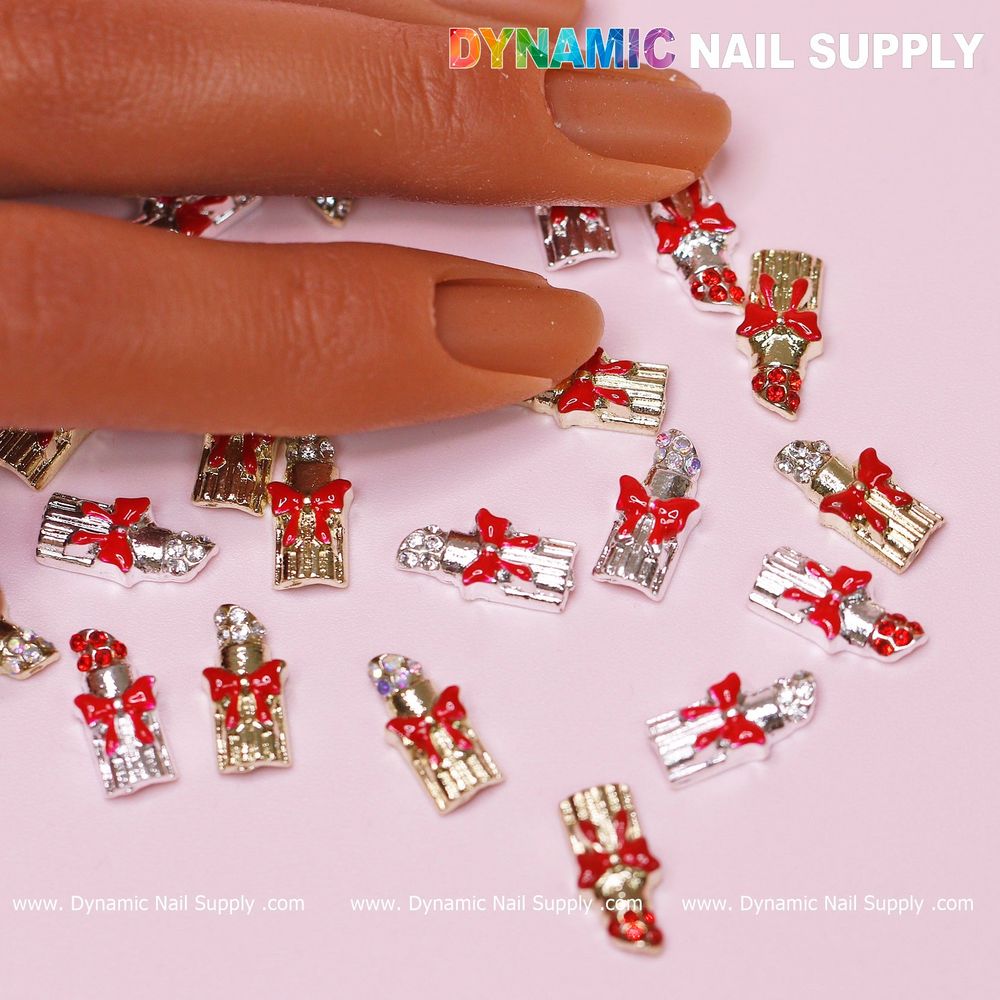
- Quantity: Each set includes 20 charms, offering enough pieces for multiple manicures or several accent nails.
- Design motif: Lipstick shape with a small red bow — a clear Valentine’s theme that pairs well with reds, pinks, and neutrals.
- Versatility: Use them singly as focal accents or cluster them with other tiny decorations for a textured look.
- Affordability: These charms are offered at an accessible price point (listed at $7.99; prices may change).
Step-by-step: applying these charms (beginner-friendly)
- Prep the nail: Start with clean, dry nails. Remove oils with a lint-free wipe and lightly buff the surface where the charm will sit so adhesive bonds better.
- Choose placement: Decide which finger(s) will wear the charm — thumbs and ring fingers are common accent choices. Hold the charm in place to visualize composition before adhering.
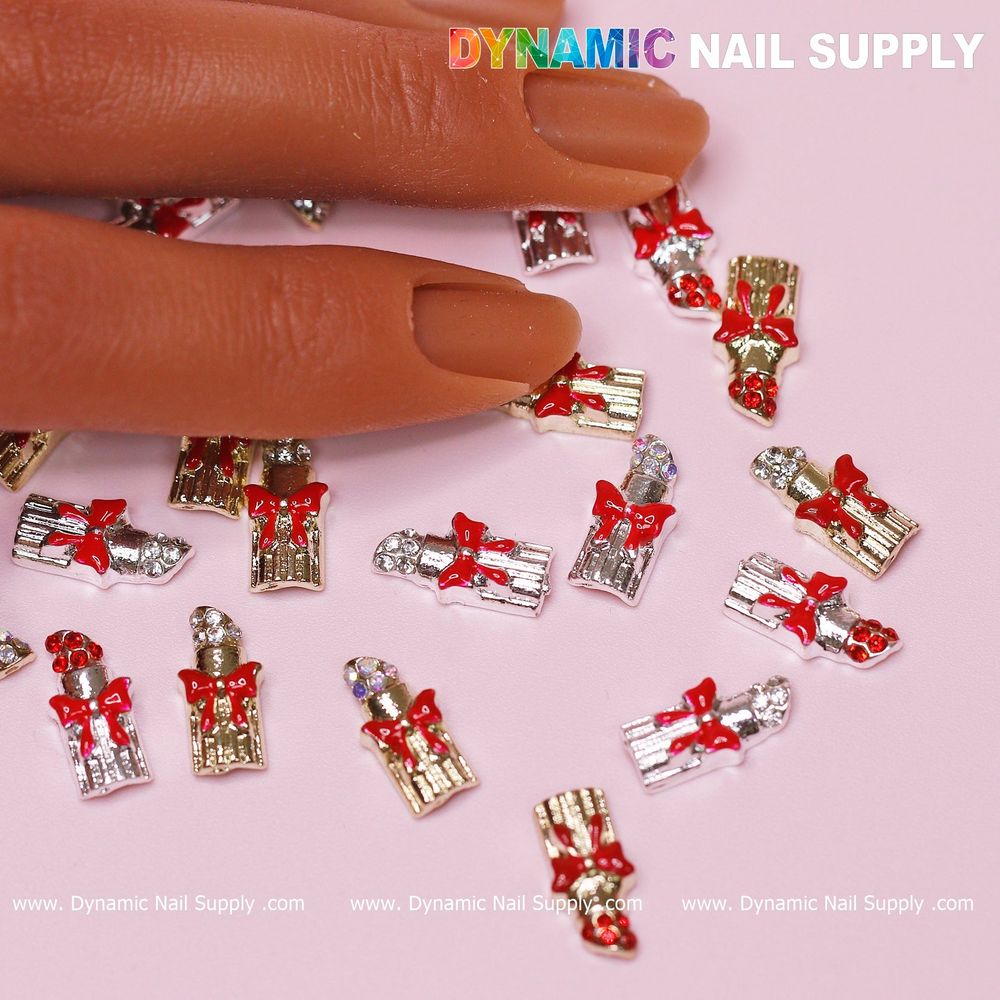
- Apply adhesive: Use a small drop of nail glue or a dab of builder gel where the charm will go. If you’re using gel, apply the charm, then cure under your lamp according to the gel instructions.
- Set the charm: Gently press the charm onto the adhesive so it sits flush with the nail surface. Remove any excess glue quickly with a wooden stick or a small brush dampened with acetone if needed.
- Seal and protect: Finish with a top coat around the charm edges (not always over the face of a raised charm) to help lock it in place and reduce snagging. For gel finishes, use a clear builder gel or top coat and cure as directed.
- Final check: Swipe away stray adhesive and make sure the charm is secure before handing over anything fragile — the small bow detail is decorative and can catch if not set properly.
Design ideas and placement tips
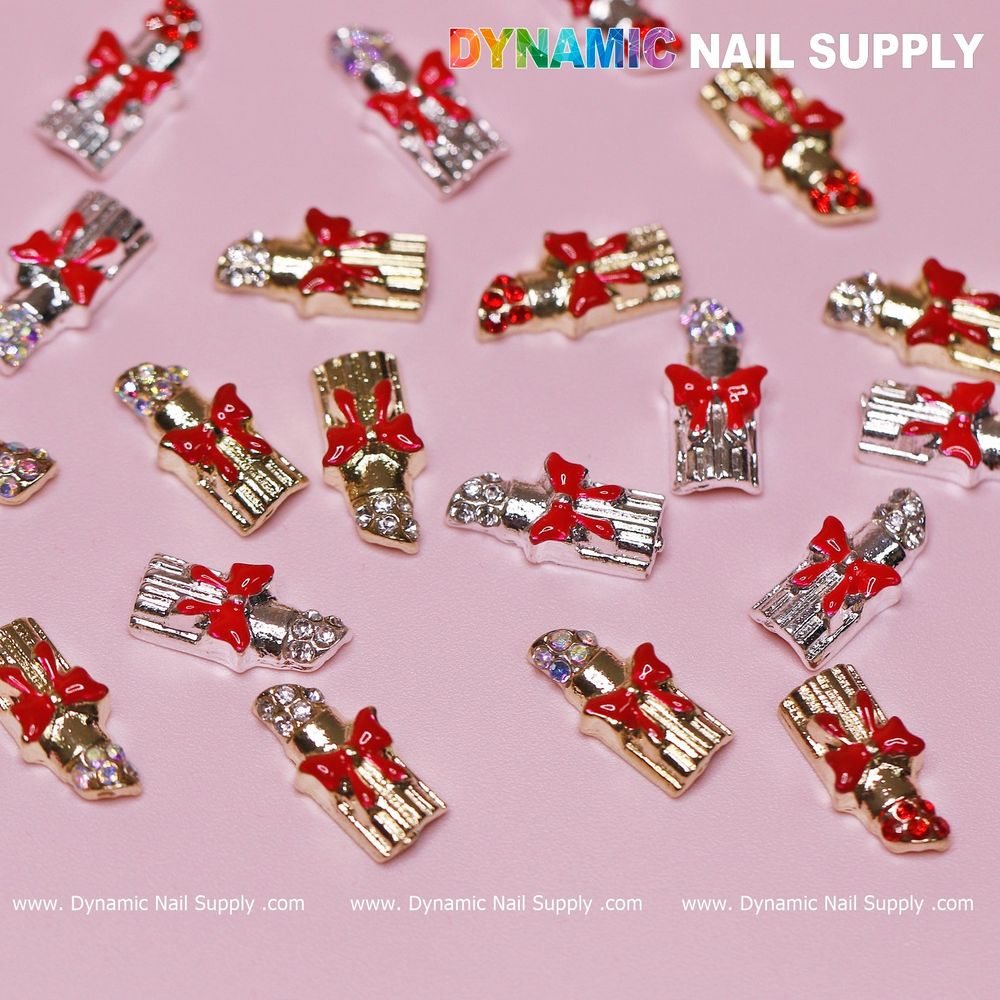
- Single-accent manicure: Paint all nails a solid color and place one lipstick charm on the ring finger for a subtle romantic pop.
- Mix-and-match: Combine one charm with micro-rhinestones or tiny hearts on a clear or neutral base for a delicate cluster effect.
- French upgrade: Anchor the charm near the tip of a French manicure to modernize the classic look.
- Gradient contrast: Use ombré or gradient polish as a backdrop to make the red bow stand out against softer shades.
Who should use these lipstick charms?
These charms are ideal for nail techs building a seasonal kit, hobbyists experimenting with themed manicures, or anyone who wants an easy way to add a playful detail to a salon set. Because each pack contains 20 pieces, they’re also practical for clients who like repeating a motif across several nails or for stylists doing multiple clients at once.
Care and safety notes
- Keep charms away from small children and pets; they are small and could be a choking hazard.
- Check adhesion after everyday activities that stress the nails (typing, dishwashing, etc.), and re-secure if needed.
- If you need the charm removed, soften the adhesive with an appropriate remover and lift gently to avoid damage to the natural nail.
- If you have sensitive skin or nails, test one charm application first to ensure no irritation occurs from adhesives or materials used.
Quick tips to avoid common beginner mistakes
- Avoid using too much glue — excess can spill around the charm and look messy.
- Don’t skip surface prep; a slightly roughened base gives much better adhesion than a glossy, oily one.
- Place charms with a tweezer or wax picker for precision — fingers can be imprecise and transfer oils.
These lipstick-shaped pieces with red bows are an easy, playful way to celebrate Valentine’s looks without complicated techniques. If you want to stock up or compare packs, look for sets sold in clear-count packaging so you know you’re getting twenty pieces per pack.
Available through Dynamic Nail Supply and similar pro retailers, these charms are a small investment for versatile styling options and seasonal creativity.
With a little practice and the simple steps above, you’ll be confidently applying valentine lipstick nail charms for neat, long-lasting accent nails.